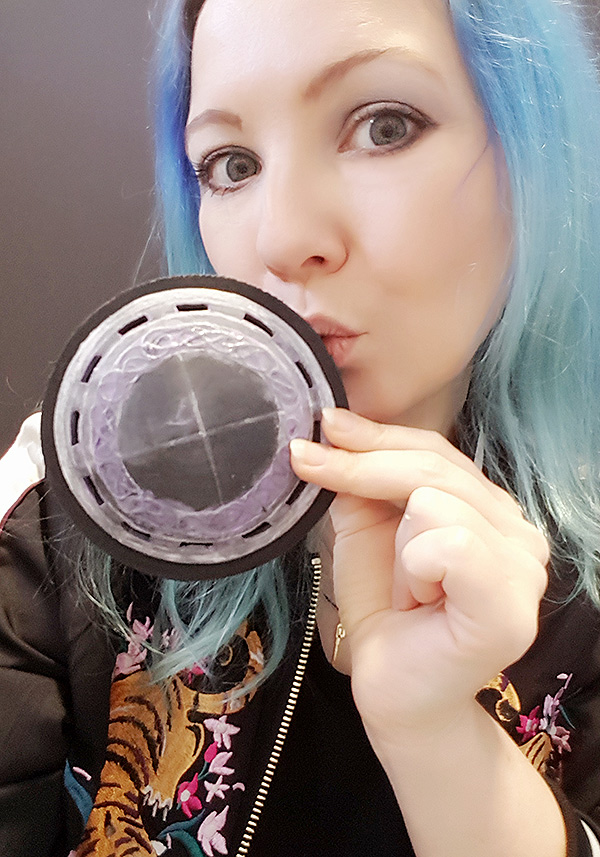
Next step to Thor cosplay: armor detail it is! Did I mention I start with the fabric parts, cause I feel save sewing stuff? Hahaha, not. Not, when it comes to Asgardian fashion. Frankly I call Thors tunic Frankensteins Monster atm, because it consists more or less of pieces and thread proving my “tremendous” skills of creating a proper pattern for another person like Marcel 😀
You might say now, that the tunic is almost not visible under the armor – BUT: It defines a lot of proportions and important spots for the upper layers. So… tunic is crucial, but I hate it right now! That’s why I started with another crucial prop: Mjolnir, Thors hammer and the key elements of the armor: the 6 discs that every Thor costume has. Both pieces of the cosplay share one important thing: tiny details. So I try to explain how I tried to manage some nice little lines and ornaments on the different armor and hammer pieces.
Armor detail work
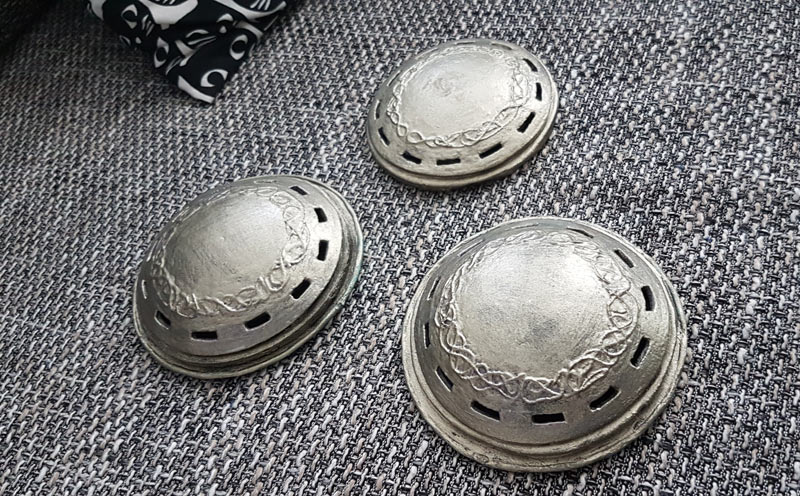
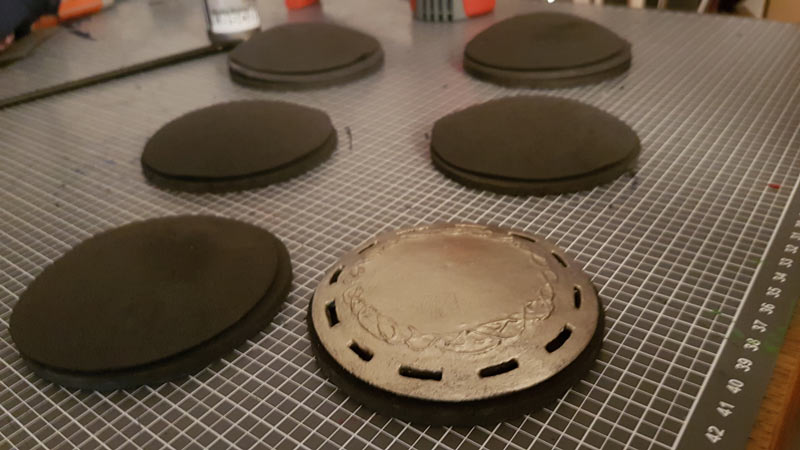
The big advantage of creating a Marvel costume is – there is a tremendous amount of armor detail so you always can procrastinate on one thing going mad on another part of the cosplay. When doing my research I saw that Thor has 6 discs on his armor, not only sliced, but with embossed filigranity on it – means: armor detail alert! So well … how to handle these fine buddys, then?
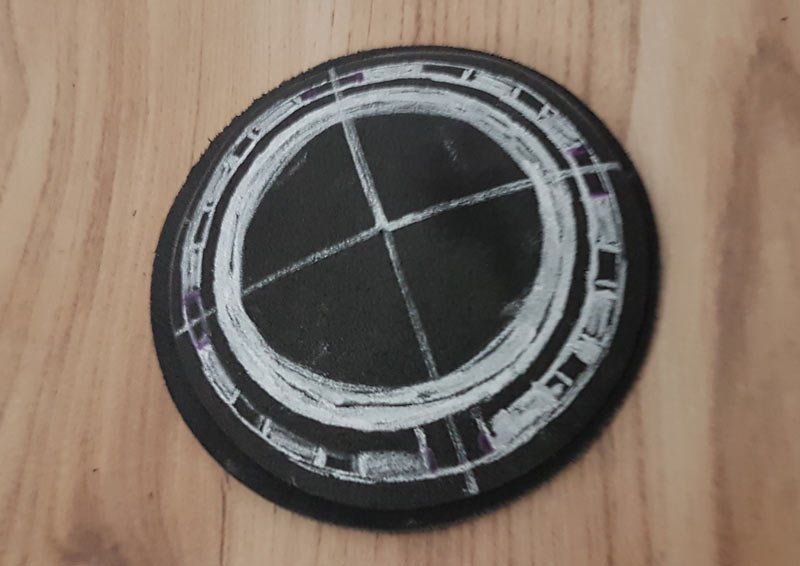
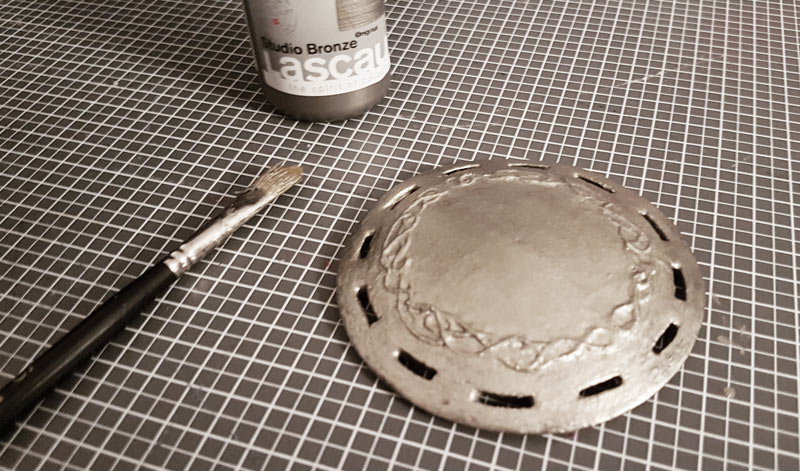
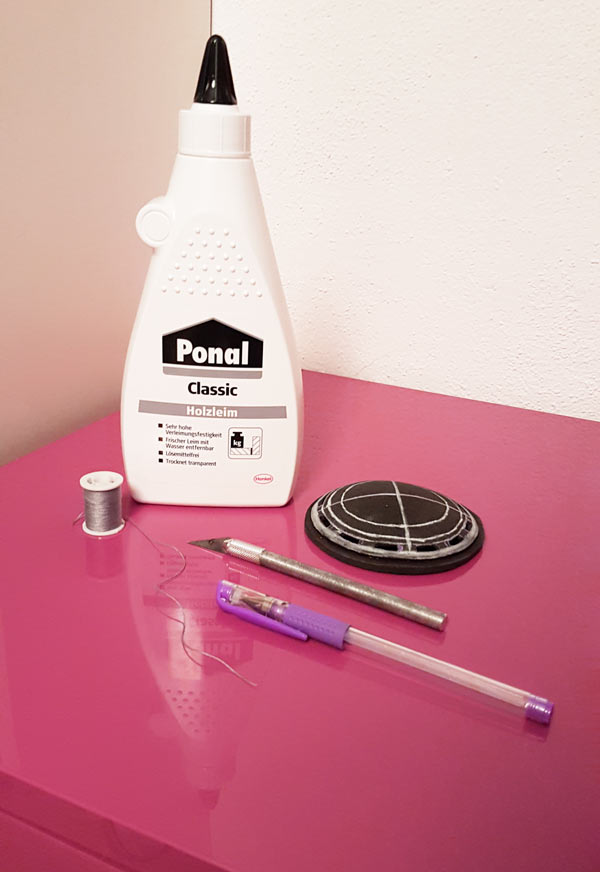
First I took circles in the different sizes of 3mm Profoam H, heated them and put them on a acrylic sphere for some seconds. So you create the spheric shape. Then the fun part starts – ladies an gentlecosplayer! Grab your chalk or gel pen an paint on: Quarter lines on the disc, distance to border, distance of the little slices, distance to the ornaments, distance to center.
Calculate 12 slices with the same distance for each disc then. You can use maths like Marcel proposed or do it like I did – guess, pray, try and error – wow and chaos method worked, too 😀
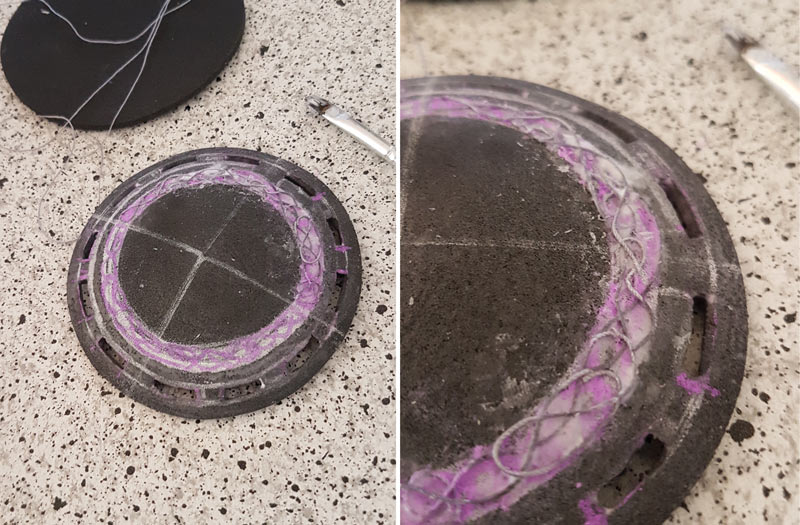
Now its time for patience and calm fingers. I never found a high res picture of the discs for a proper view on the real ornaments, so I decided a nice celtic knot pattern would do. Thanks to the mighty interwebs I found a pattern, that already was designed as a circle, what made it a lot easier. Next step was to paint the basic pattern on the foam with a gel marker. The quarter lines helped a lot doing this. And after drawing the pattern glue the lines on with a thicker sewing thread.
A big thank you goes here to my friend Cyehra – armor and props who brought me to this idea. She was using draw strings to fake ornaments on an armor build of hers. I just minimized the system – Thanks girl!
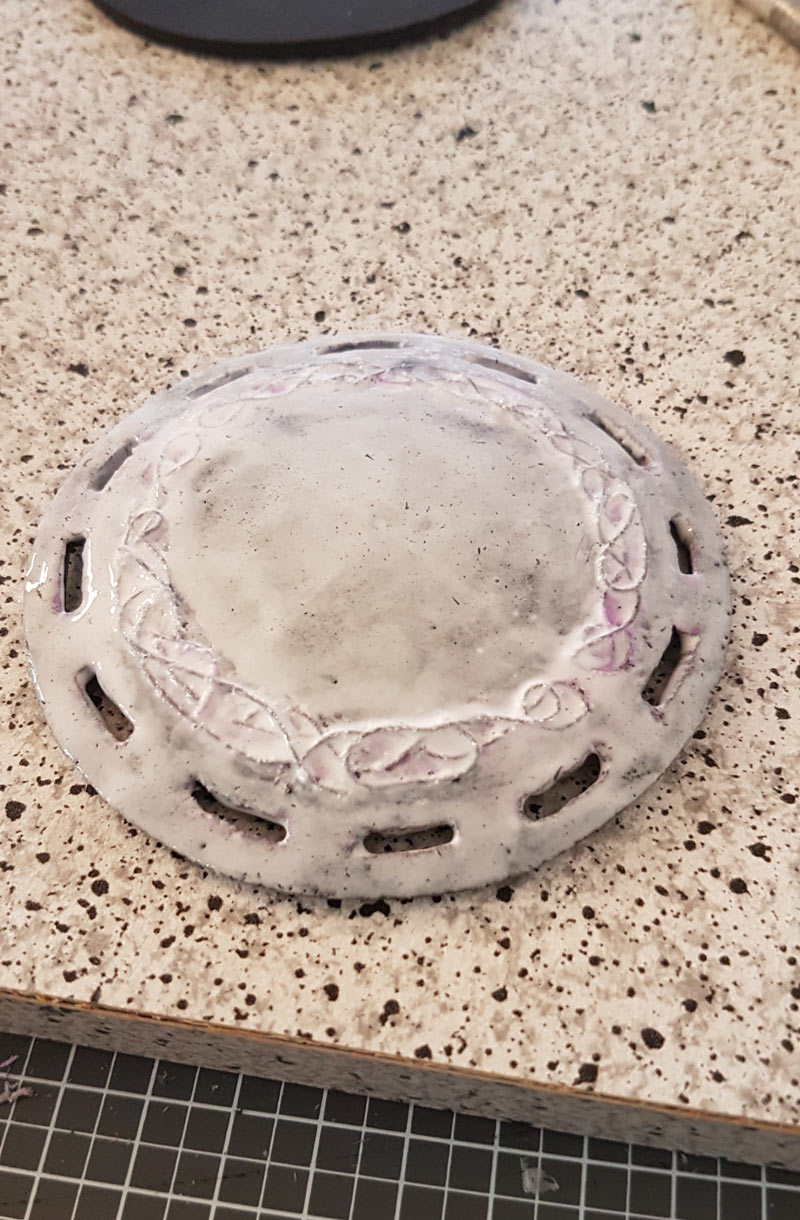
If you ever wann to glue on details on your armor or other parts of your cosplay like this – here is some advice. Put the wood glue on the foam and … wait… if you think its ok .. wait a wee bit longer and then start to follow your drawings and glue the thread on the foam piece. I also found a scalpel and a brush with some more woodglue at hand very helpful to complete the mission armor detail. After glueing everything on the foam cover the thread as well as the disc about 3 to 4 times with thin layers of wood glue. The glue will connect the tread with the disc below and you create a embossed ornament surface.
If everything is dried, you can go forth with acrylic colour – I used metal colours from Lascaux from Craftperium. It contains real metal pigments and creates a cool metal look.
As with the wig – I keep the discs for Thors armour clean untill I decide how battleworn or fancy our Thor cosplay will be in the end.
Mjolnir handle detail
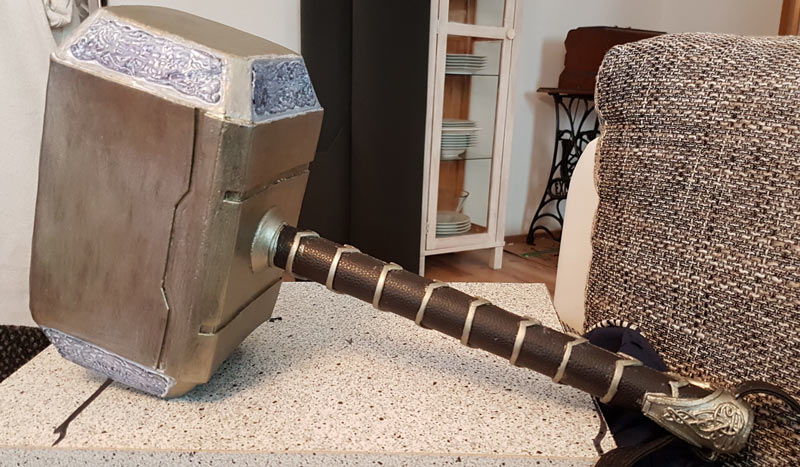
Not only for the armour detail the glue + thread technique works great. You can also use it for some ornaments at Mjolnirs handle. I chose a waxed thread this time, beause I wanted the details to look sharp unlike the more flat ones on the armor discs. The disadvantage of this thread is, he is a little stronger and sticking is more difficult.
So I chose to fix the thread with needles till the woodglue is dry. This is how the handle looks after 2 layers of priming with wood glue:
Next step is silver acrylic colour. I mixed some light silver acrylic colour to the Lascaux colour to create a slight different tone to the handle metal elements. I felt it was cooler to have a difference between hammer head and handle. Of course I also age it and add some shadows later, too.
Here you see the current state of the handle detail plus last details in the hammer head drying, too. Of course I’ll provide a whole write up about how I made the hammer! Just keep on posted here 🙂
If you use my little thread and wood glue tutorial for own projects I’d love to see them. Hit your pics in the comments or send it to my facebook.
As always: for more updates don’t forget to follow my facebook or instagram <3
