
Jane Foster Cosplay: Creating Foam Armor for the first time
My Jane Foster cosplay was meant to be like a side kick to have a proper and comfy outfit to go and hang out with Marcel cosplaying Thor at conventions. Plus: Working the first time with foam as a crafting material ever, I thought it a good idea to test some working techniques with Janes armor so Thors armor will be much more epic if I had some experience taming the foam. I acutally find foam easy to work with, but you need to know some basic stuff before ready. foam. go.
(Foam) Armor Patternmaking
For the bracers I used the arm cast that I already had created for my Nova cosplay. So I just wrapped these with foil and tape, too and sketched the basic form on it.

As Janes armor is covered in details I also drew the lines and shapes on the tape, too, it will be of good use later then.

After I took this as a base shape for the bracers I copied the pattern and cut out all the lines with a scalpel. So it was easy to transfer the lines to the foam later.
Foam Armor Details
I found it useful to take a chalk stick to transfer the pattern and the details on the foam. With white colour it was easy to draw the lines on the black profoam with it and – as you can remove chalk with a wet tissue e.g. you can correct lines without spoiling the surface.

For the body armor and the shoulder paldron this worked kind of the same. But for both I decided to draw the lines on the basic pattern directly on the foam as it was faster and easier. Talking improved drawing skills for Jane Foster cosplay!
After cutting out the basic shape of Janes bracer I added the details with a soldiering rot – actually it worked really well, but you need to be careful. If the soldiering iron gets too hot it makes fringy edges. Actually you don’t see it on photos and from a distance, but I know it is there. But hey, for a first try I like it anyways. Cyehra our german foam queen gave me the advice, that this kind of lines also can be just pushed in the foam with a shaping tool – I’ll try this for my next project, where carvings or edgings in foam armor are needed.
After finishing this you can form the foam in the needed shape. I heated it up with a heat gun and formed it to my arm. I also could have used my casts, but I wanted to try how warm the foam gets after heating it up and I was surprised: In contrast to Worbla it gets touchable and it wont burn your skin, but takes shape and is formable anyways.
Foam Armor priming and painting
In the end I was not perfectly happy with the surface like 100% but I knew for a first timer it worked out well. Next time I might check out to emboss the details instead of using a soldiering iron. Just to find out if it looks a bit smoother then. Plus: Positive surprise – on photos I so much like the outcome of the armor pieces. You can’t see the unevenesses (is that even a word?! ) too much, so this makes me pretty much happy with the cosplay
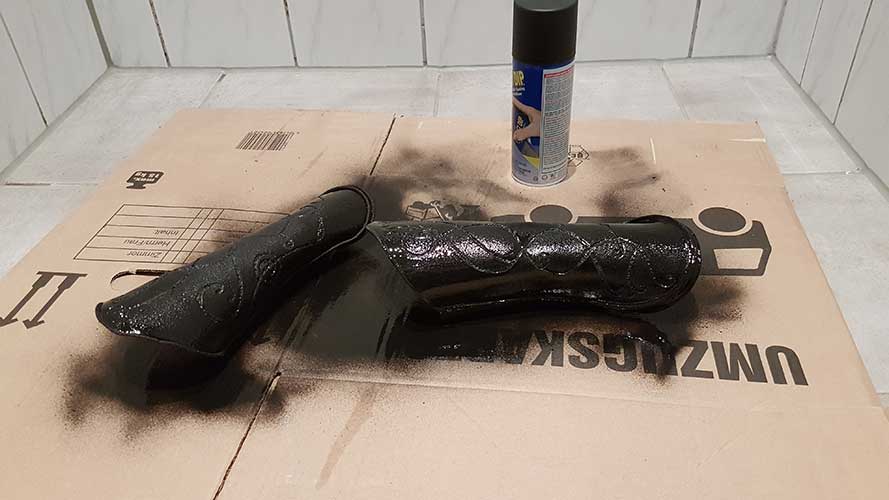
But patterning, cutting and carving is just the first steps – now priming and painting is needed. I used Plastidip out of a spray can for this as I read in the interwebs this works well. Actually it does, but Plastidip is a tiny little diva. What I found out also with the help of Cyehra are the following holy rules of using Plastidip as a primer:
1. Shake it my baby!
Before priming foam with plastidip you better shake this can as much as you can! Take it as a workout, but you need to shake the can about a minute properly to have a good result later.
2. I want some hot stuff baby this evening!
You better keep the Plastidip can cosy and warm! If you ever wonder why nothing comes out the can, the Plastidip makes spots and no spray fog. Remember: If it is not warm enough, Plastidip is of no good use! I read some other cosplayer even heat it in hot water, but as it is still in a spray can I wouldn’t do this, but try to store it at room temperature will do the thing. It worked for me.
3. Upside down you turn your can!
After use you need to clean the spray nozzle by spraying upside down until nothing but gas comes out the can. If you don’t, you learn a pricy lesson. The nozzle will be jammed and you have a kind of expensive piece of junk or home decor then.
4. Ogres have layers!
Ogres have layers! Onions have layers! Plastidip prime has layers! Take your time and spray several thin layers of Plastidip on your armour parts. You will get a smooth result then. Wait at least 20 Minutes between every layer, thats whats turned out well for me. If you have drops or “noses” I made the experience you can save the piece by using a sooooft (like in soft kitty warm kitty soft) wet brush to correct some of this. Just But it is very very important to check the brush doesn’t loose hair and you need to brush gently.
After priming the bracers with Plastidip I painted everything with Lascaux acrylic colours – I mixed Brittania Silver and Aluminium. If you dry brush your pieces like I did, the colour is not pouring in the burnt in details, so you save time colouring and shading them.

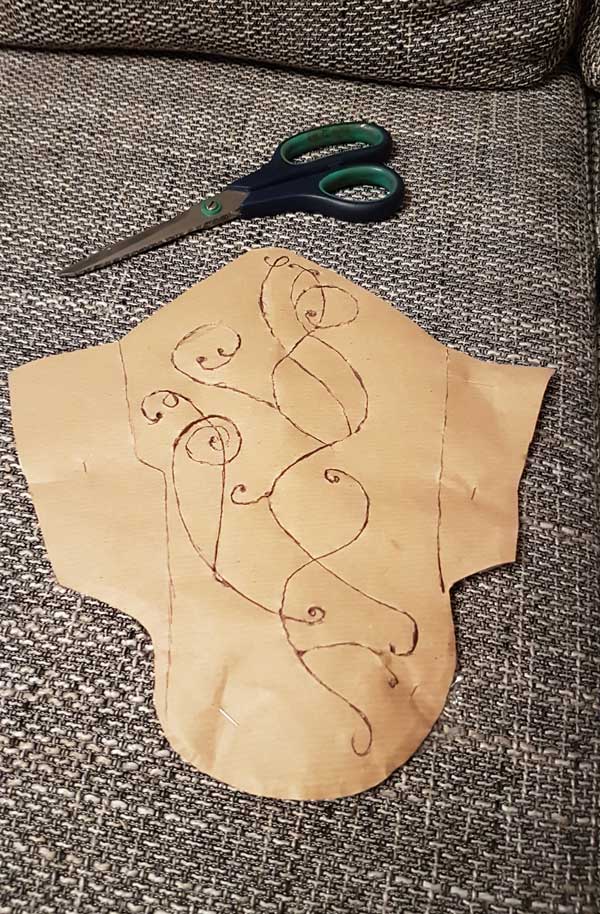
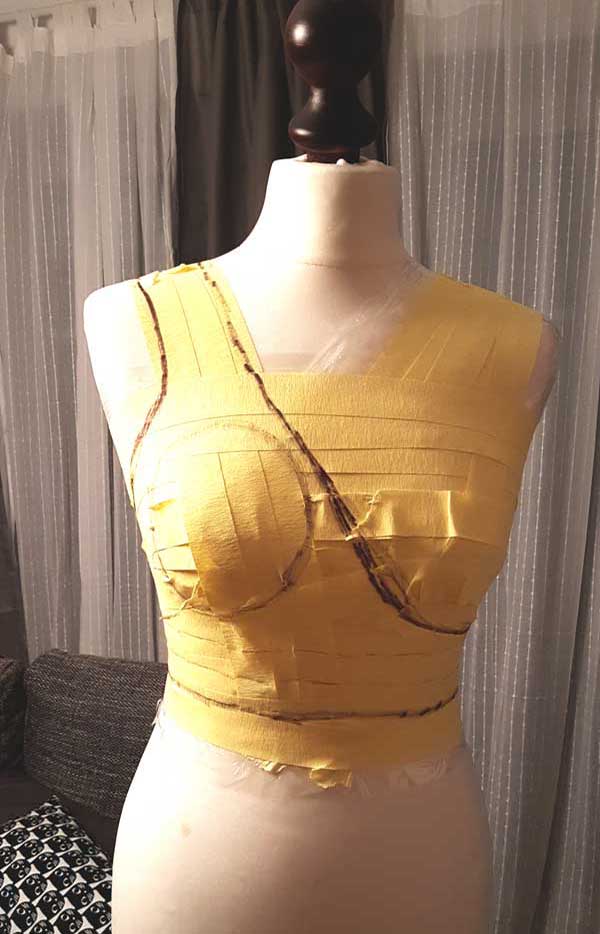
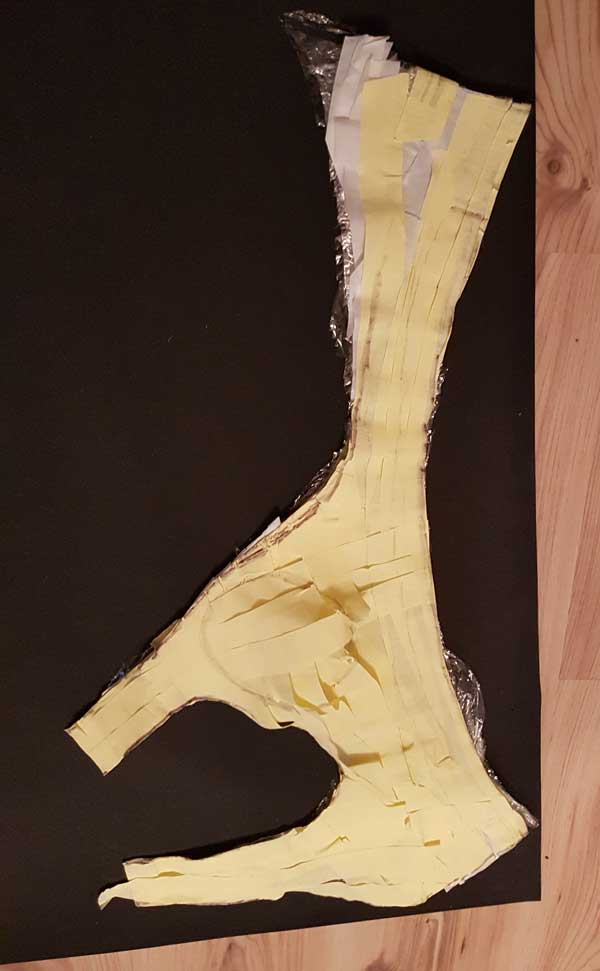
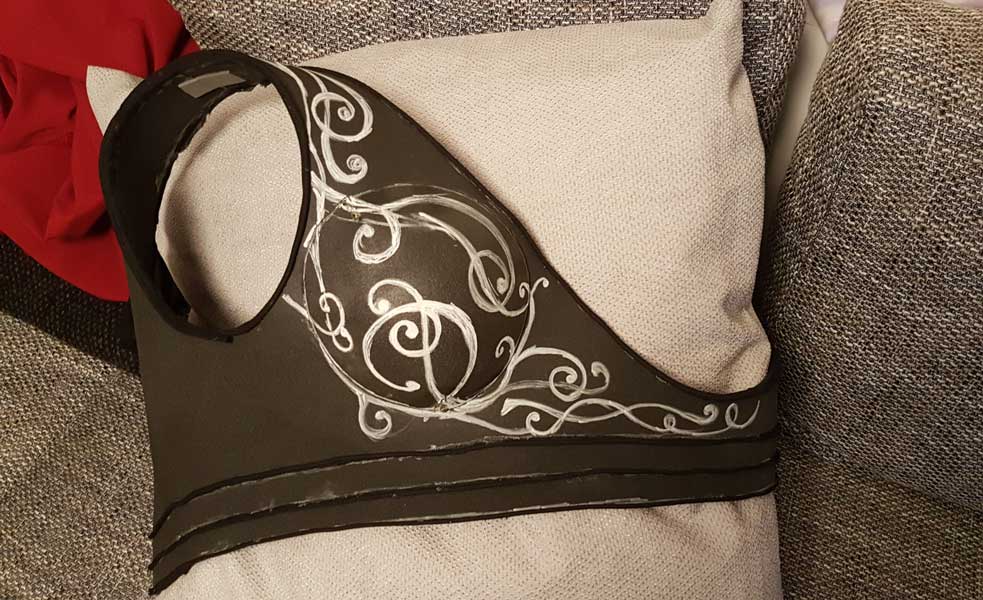
After finished the bracers and collected some first experience in foam smithing I continued with the body armor for my Jane Foster cosplay: Janes armor is asymetric and covers just one breast. This is a reminiscence to the antique images of amazons, that just hat one breast, having it cut away the other for better work with arrow and bow. I decided to make a basic one shoulder piece and add a half sphere on the foam. For patternmaking I used the usual technique with tape and foil again that a lot of cosplayer use to create armour or dress patterns. For the body armor I used my dress foam as basis:
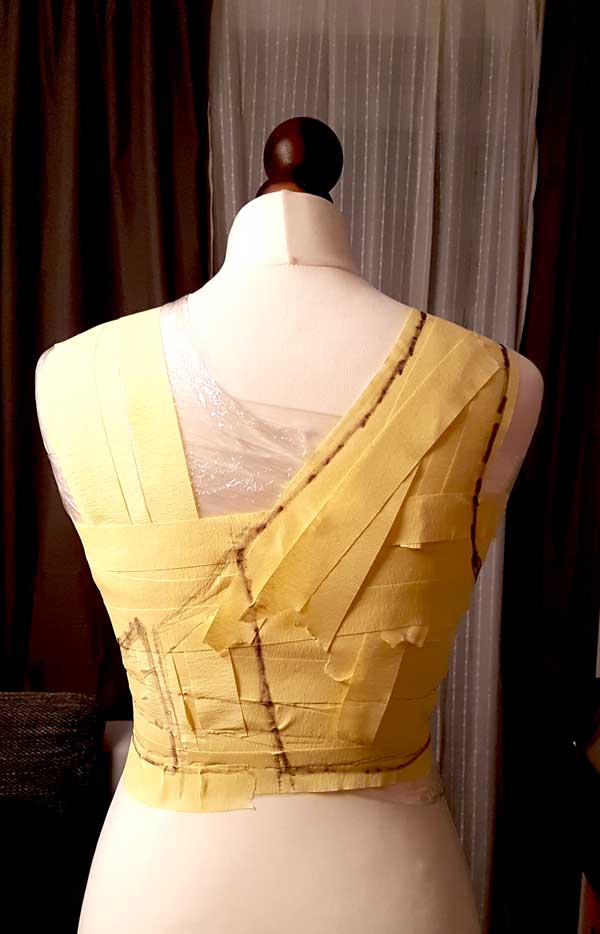
The armor has two cuts in the back. I filled the gaps later with fake leather where I also hid some snap fasteners on the inside of the armour to close it. I fixed everything with Pattex Classic glue and it works very well even after I wore it some times.
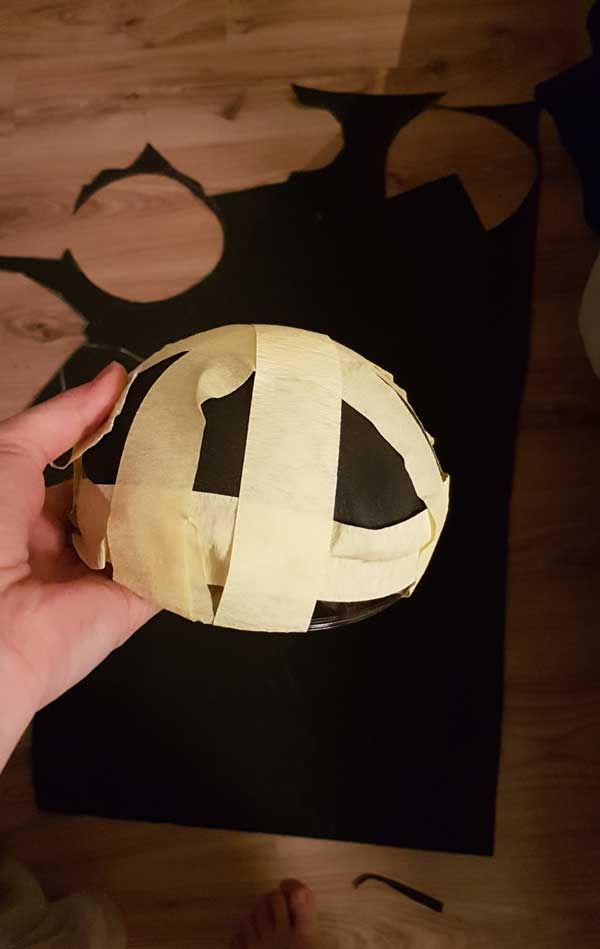
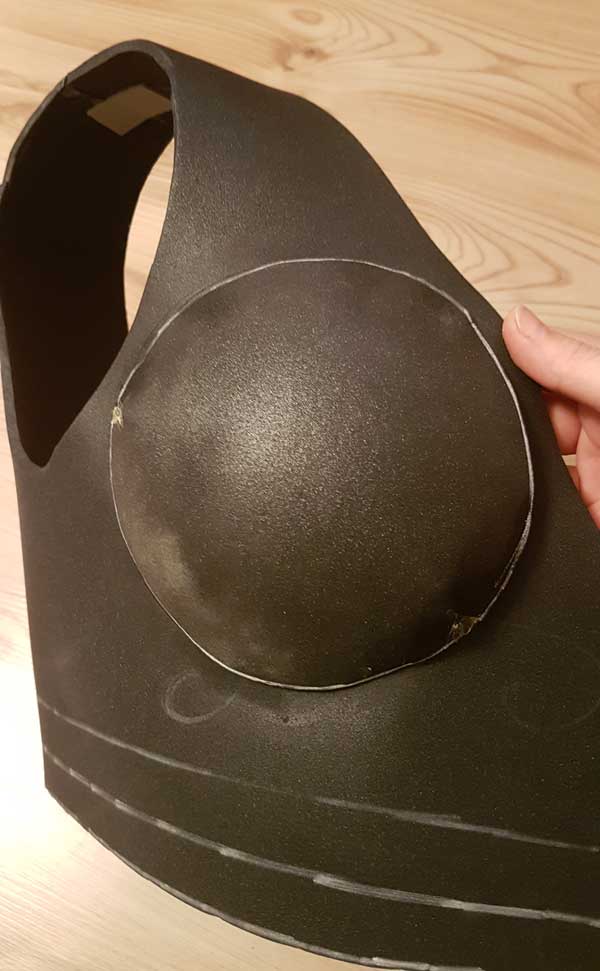
For the breast cup I took a circle piece of Profoam heated it up and shaped it over a half acrylic sphere. Paranoia Kes fixed it over night with tape so it can cool out completely and keep the shape – well, it worked! This is how it looked glued on the basic armor. Again: I used Pattex Classic as glue for the profoam. It is flexible, is not breaking when you bend it- awesome!
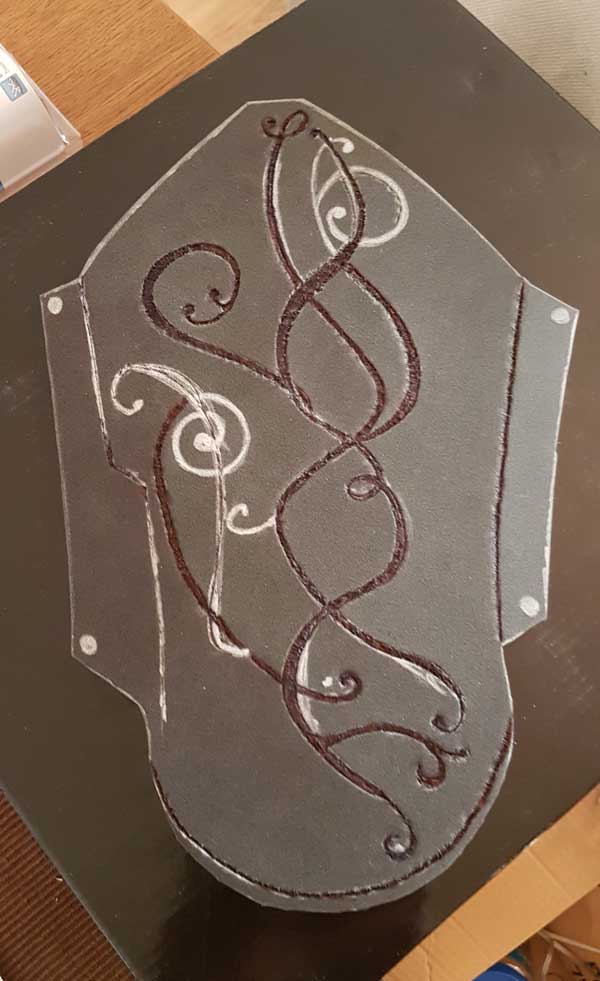
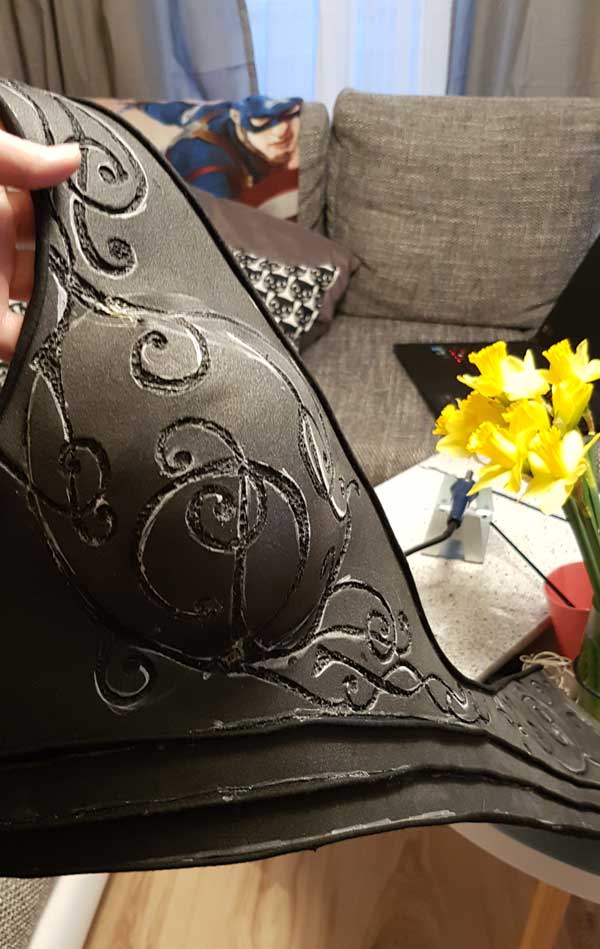
After glueing everything together I sketched the ornaments with a chalk pen on, like I did with the bracers:
And here we go with the soldiering rot – again – you can see clearly the unnevenness it caused. After priming and painting it got a lot better, but now I would just press the pattern in as the soldiering iron was not working filigree enough for me.
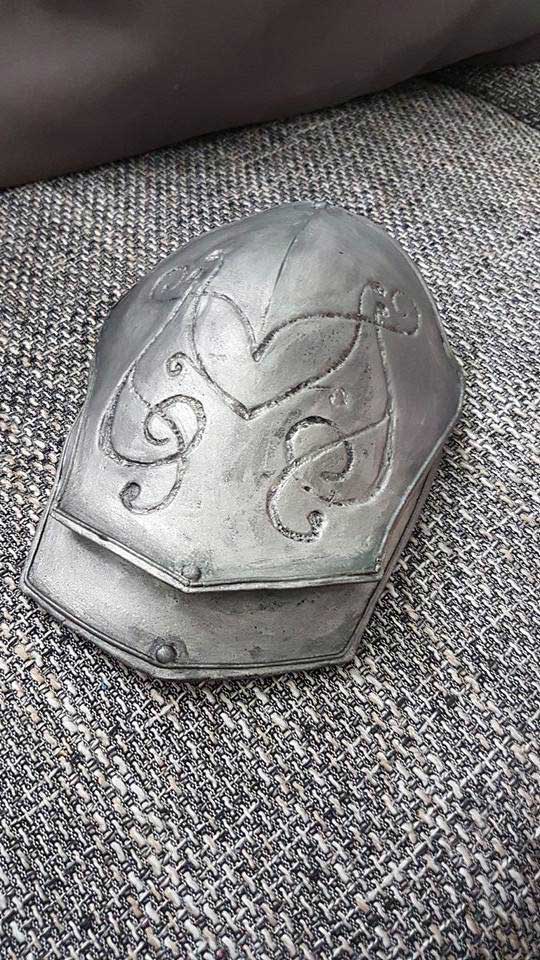
Last armour piece was the shoulder paldron. Actually I made it with the same techniques as the armor pieces before so I just show you a photo of the the finished thing. I attached the armor piece with a magnet on the dresses shoulder later. Magnets seemed to be handy and they turned out a good choice. You can snap off and on pieces without bending them, what – in case of foam smithing – is a wise decision because you can avoid primer and colour from breaking or getting wrinkles. I also found magnet fasteners for DIY purses that have eyelets for even sewing them on, if glue is a bad idea – check this out 🙂
The studs btw are real studs I found a local diy store. I just glued them on the foam and painted them. As they are real metal, a layer of wood glue turned out handy as primer to make the color stick better. The lines are like I told you before in the post about the armour details for Thor and Mjölnir threads covered with wood glue again before priming and painting.
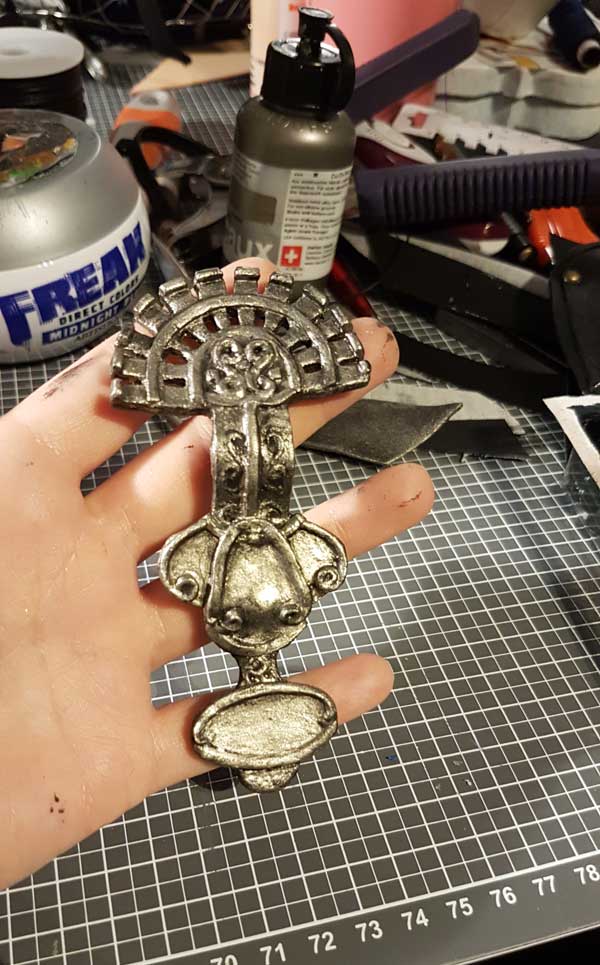
The Cherry on the cake: The Brooch that no one knows and the opportunities of craft foam!
Actually Jane really wears a brooch to the dress. It is set on the left shoulder and due to her hair and general tinyness it is almost not to recognise. You can barely see it in the movies, at some action figures you can see it better. I even had a hard time to find proper references for it. As it is also very detailed and tiny I was wondering how to create it, but ended again with foam. It was a little bit or a little more bit fiddling, but in the end the brooch looked like something! It is really astonishing what you can create with some scraps of craft foam.

As the brooch not needs to be flexible I covered everything with some layers of wood glue (if you bend wood glue the surface might break ruining your paint job, that is why everyone is using stuff like Plastidip for priming foam) before painting:
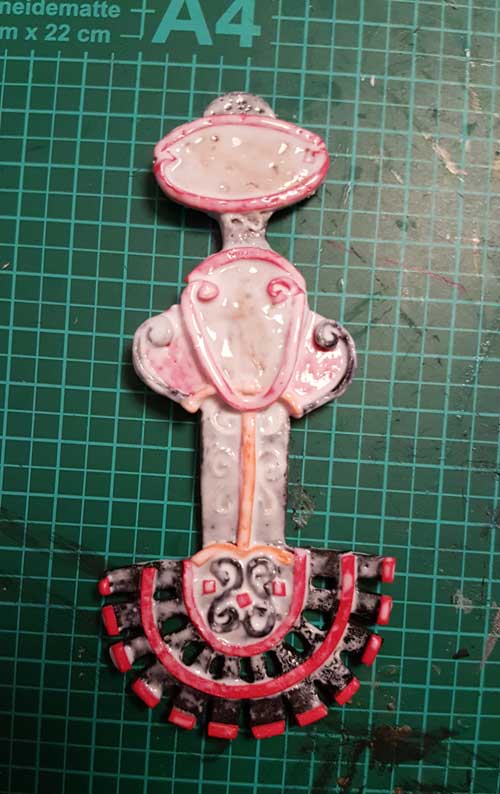
After this I painted everything with Lascaux metallic acrylic colours – again. And who’d have thougth some scraps of foam can look like metal:
Fortunately really someone made a hall shot from us where you not just can see my Jane Foster cosplay in full grace, but also this brooch in action – I was so happy about this photo!

Jane fosters blue Asgard dress
Actually I have almost none real photos of the creation process – I was stuck in con crunch while finishing the dress in one weekend before we debuted the cosplays at Role Play Convention. The dress was kind of a challenge, because the drapes and layers. It it obviously designed in a greek or somehow ancient style. So I had to find out how many layers and how to layer the fabric that it get quite the look of the dress. Normally I just create a paper pattern and try and error a lot, but in this case I decided to make a mock up dress to be sure. As I had some hilarious satin fabric in rainbow colours I kept deep in my storage for years, I decided to make this the Bifrost style test dress for my Jane Foster Cosplay.
Concerning the fabric it was the first time I kind of gave up on finding the perfect patterned one. I decided to go for a propor colour and a light quality to make the drapery work. I chose a blue-purple changing light satin cause I thought this would fit the glamourous Asgard style.
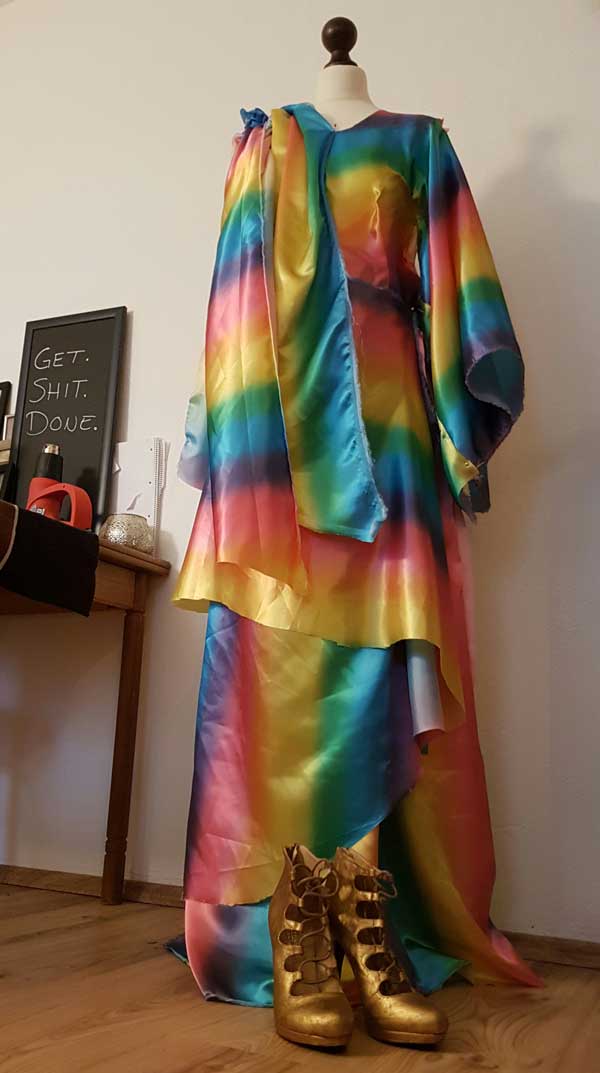
The shoes look gold in this picture, cause I primed them with a Layer of Lascaux gold then copper and finally a finish with aluminium Silver. I dipped the last layer on it to get the metal optic working somehow. Shoes made from steel – only in Asgard 😀
Jane Foster Cosplay in action!
So in the meantine I was able to wear my Jane Foster cosplay to two conventions and had the opportunity to make photos along with my big guy Marcel as Thor. I am really happy how the costume turned out in the end – just showing you some of my fave photos now – credits are added in the description:
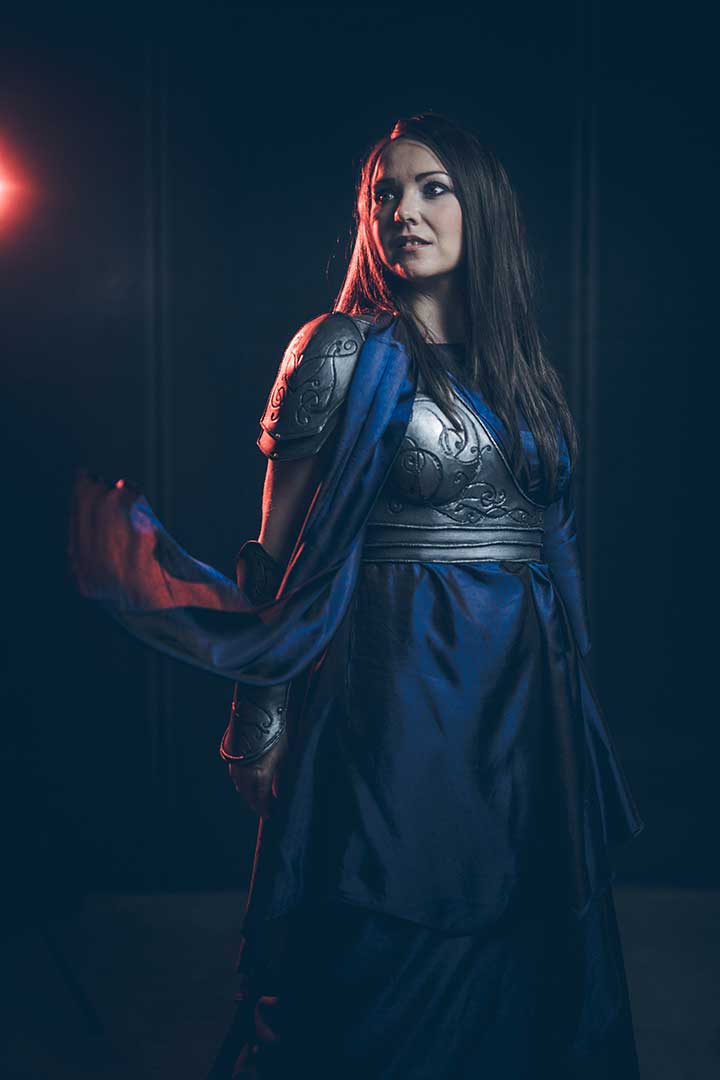


At Comic Con Germany Melanie from Ravianna’s Cosplay tried with me to shoot the falling scene from Thor: The Dark World, where Jane is kind of falling in the Ether. Thanks to some proper wind in Stuttgart that day it turned out pretty well and I can’t wait to get this photoshopped in a similar way like in the movie even if the Barbour jacket is missing! On this picture you can the also see the finished shoes and the under part of the bracers – also painted pleather and closed with hidden snap fasteners.

So, I hope you enjoyed this write up about my Jane Foster Cosplay! If you have questions about foam smithing or creating your own Jane Foster Cosplay, just hit me a comment here. If you alread made your own Jane I’d also love to see your cosplays <3
Next thing is trying to create a write up about Marcels Thor cosplay – so stay tuned the God of Thunder will be in the house!